Step 4 - soldering the Socket/ROM
OK, so we are now ready to fit our BJL ROM socket (or just the ROM if you don't have a socket, but I would recommend you do.. go on.. live a little :) ).
I will assume you are fitting the socket.
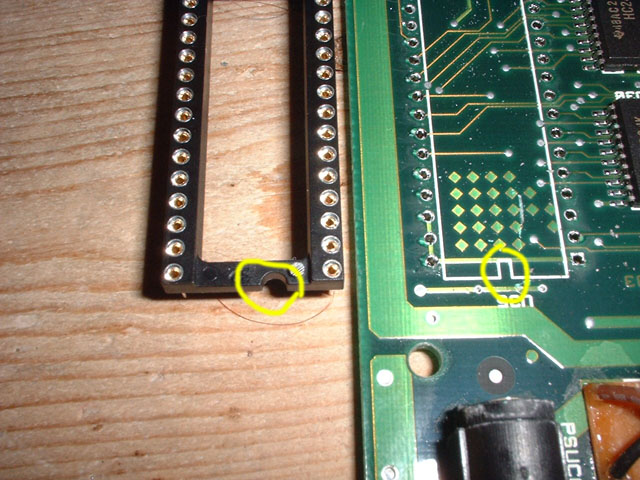
When fitting the socket, ensure that you have the notch in the socket lined up with the notch on the PCB
artwork, not essential but it makes the job nicer. If you have a turned pin socket you should find it actually fits into the holes very firmly and requires a little
pressure to push into the holes, a more regular socket may fit into place easier, and therefore may also fall out easier. If you have spare hands
I would get them to hold the socket in place at least until you have a couple of pins soldered in, DON'T use sellotape to hold it in, pulling sellotape off the real
can generate static (just try pulling it of a roll in a dark room fast, look at those pretty static flashes!) it may be OK, but I don't like taking risks like that :).
OK, now solder them pins, ensure you apply heat to both the pin and the pcb to make a good solder joint, also get enough solder into the hole and pin
to ensure a good contact, but not soo much that it bubbles everywhere, you can add more later easily, taking it away can be a pain. Try not to leave the iron
on the pin too long or you will start to melt the socket and scorch the board. Soldered pins should be nice and shiny and not dull. When you have done that
flip the board over and admire your handywork.
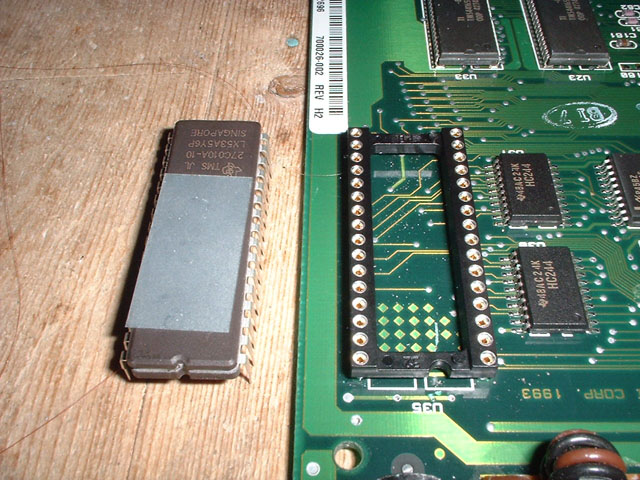
Here we have the soldered in socket and the BJL ROM next to it (notice the notches, all the same orientation). Now simply (and carefully) push your ROM
chip into the socket, making sure that the pins all go into the socket correctly and don't bend under or over the sides of the socket, and you are done
with the technical stuff.
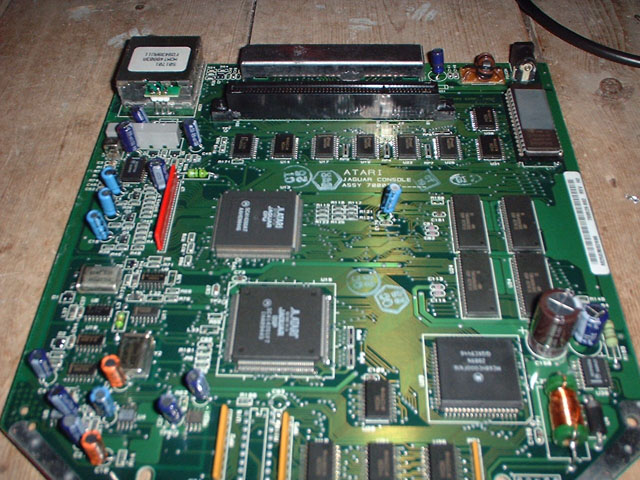
And there you have it, a jag PCB with a BJL ROM fitted. If you need/want to change the ROM at a later date simply pop it out and put in your new ROM
no soldering or desoldering required. You can test your jag without putting it back into it's case, just be careful not to short any contacts on the underside
of the PCB, and ensure you put any edge connectors into the unit in the correct way.
Step 5 - Putting it back together and testing
Copyright Graeme Hinchliffe 2003