Step 5 - Putting it back together and testing
Suprising enough this is the easy part :). Putting back together is simply the reverse of dismantling the unit. However before I completely rebuilt
the Jag I tested it first. For the tests I put the PCB back into the bottom part of the case and screwed it in place (2 screws either side of the
cart slot and 2 near the joypad ports. With the jag in this condition, all the notches to ensure correct alignment and orientation on the edge connectors
at the back of the unit are in place too.
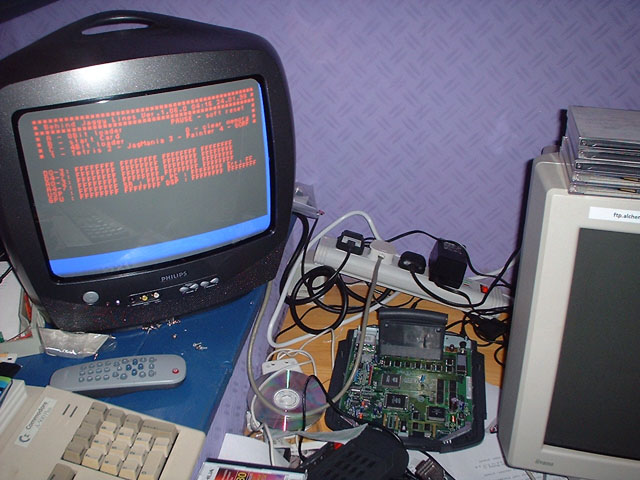
Excuse the mess please ;), here you can see the Jag succesfully booting the BJL ROM. (The cart I use to power up my jag is just a 4 chip card I bought
from Best Electronics).
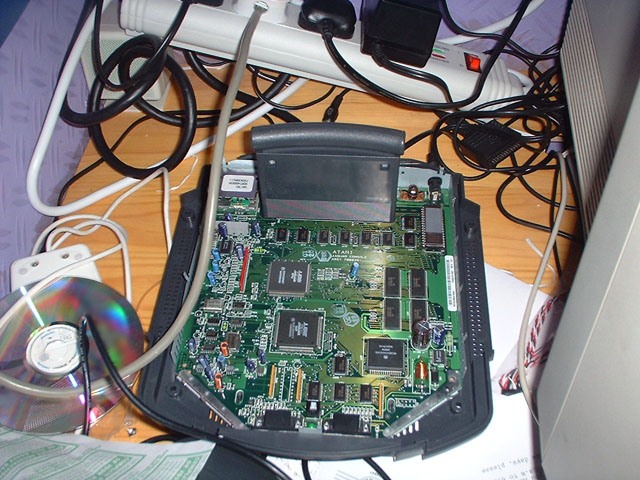
A closeup of the Jag unit itself
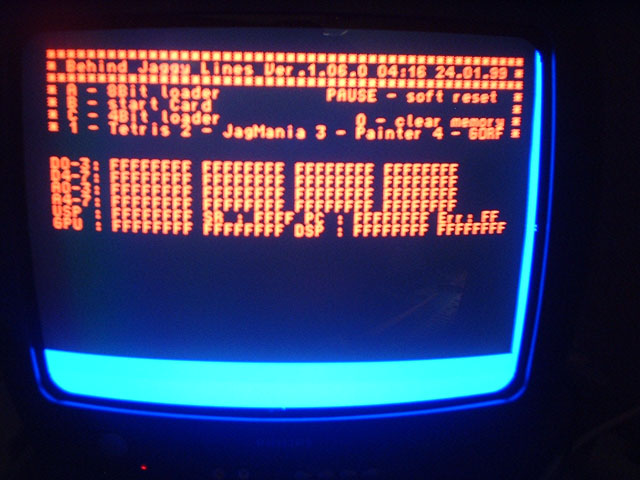
A closeup of the BJL screen.
Now all you have to do is put the RF shielding back in place and screw on the lid and your done. (I also like to put a nice sticker on the underside
to say when and by who the jag was modded by :) ). Be careful when putting the RF shielding in place that you get the tabs through the holes in the top of the shielding
and bend/twist them to secure the top section, before you put the top of the jag back on.
And thats IT! your done, easy eh. Now get coding :)
Back to my Jaguar pages
Copyright Graeme Hinchliffe 2003