Step 1 - Opening the Jaguar
So we are now going to open the jaguar and get at it's gooey innards... err hopefully they won't be gooey but they should deffinately be innards :)
First things first, take your console and flip it over. I have marked on the picture the locations of the 4 screws you need to remove:
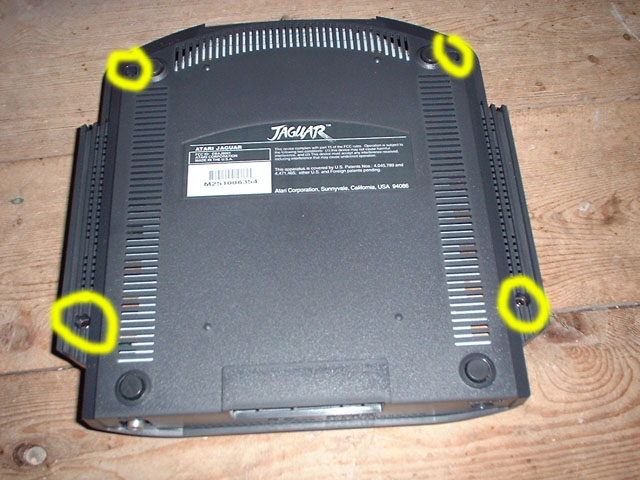
Using your Philips screwdriver remove the 4 screws and put them somewhere you are not going to loose them. Once the screws are removed flip it back over and
lift off the top part of the case. The inside of the jag should look like:
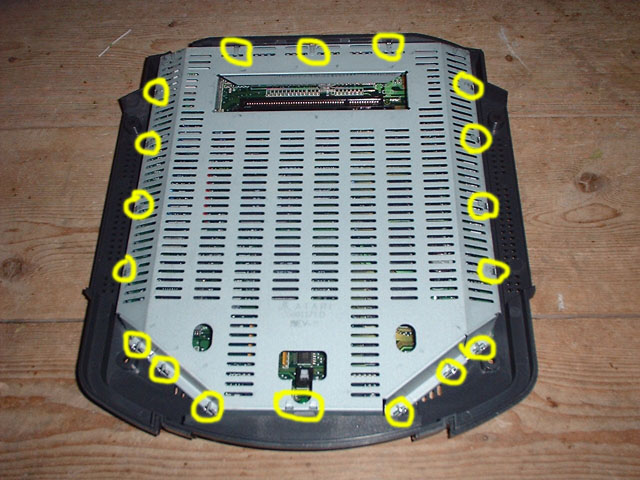
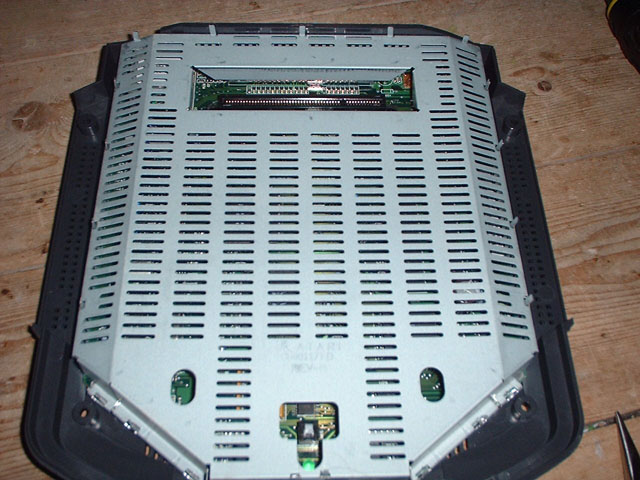
This is the RF shielding which helps stop EM radiation interfering with other electrical appliances and the Jag itself. We need to get that off to get access
to the mainboard of the jag itself. The shielding is in 2 parts like the case. The parts are held together with twisted and folded metal tags. If you look
along the edges, and down next to the game pad ports you will see these tags, I have marked their locations on the picture. Here are some closeup pictures of them :
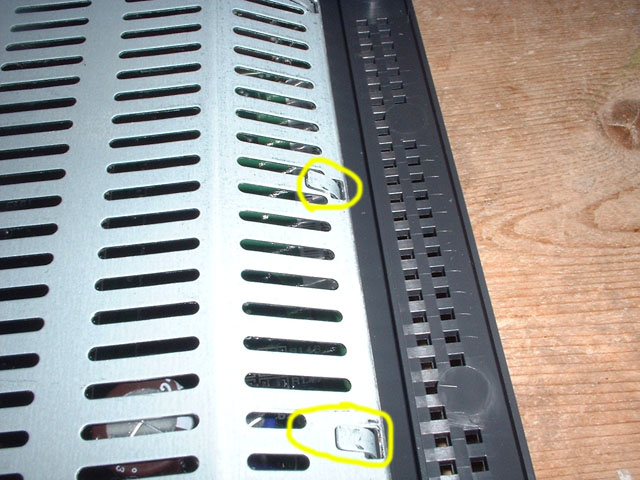
These tabs run along the sides and back of the Jag shielding, and there are also two inbetween the joystick ports. These have to be bent upwards to allow
the top of the shielding to be lifted off. These are not the only tabs there are more. :
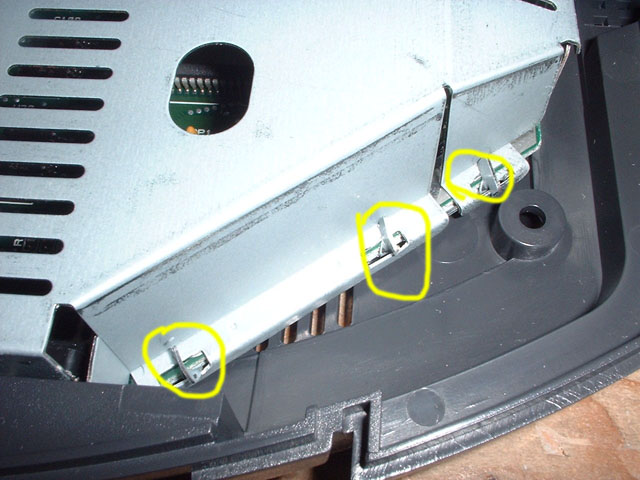
These are the tabs on either side of the joypad ports. These need to be twisted to align with the holes in the shielding. Once you have bent all the tabs
the right way :
Here you can see the tabs all bent. Now you should be able to prize off the top part of the shielding. It can be a bit awkward to do, but it is possible.
Be carefull of the edges they can be quite sharp, and try not to bend the shielding too much. Once you have it off you will now be able to see the main
board of your Jaguar:
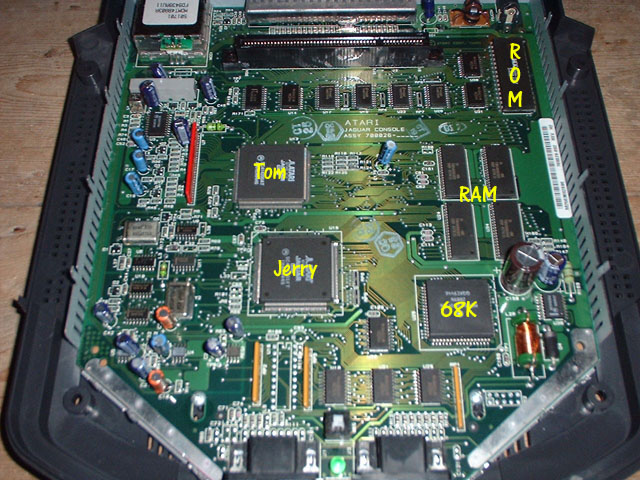
I have labeled all the main parts of a Jag for those who are interested, nice and neat inside, and thats how we want to leave it when we have finished.
Remember try not to poke at the chips or components as you may damage them through static discharge, this includes the black parts of the chips. For
anyone interested this is a 'M series' Jag I have no pictures of my 'K series' so I can't tell you what differences there are to see.. sorry.
Step 2 - Getting the main board out of the jag base
Copyright Graeme Hinchliffe 2003