Replacing Atari Jaguar CD Unit Laser Transport - page 5
Plugging it all back together
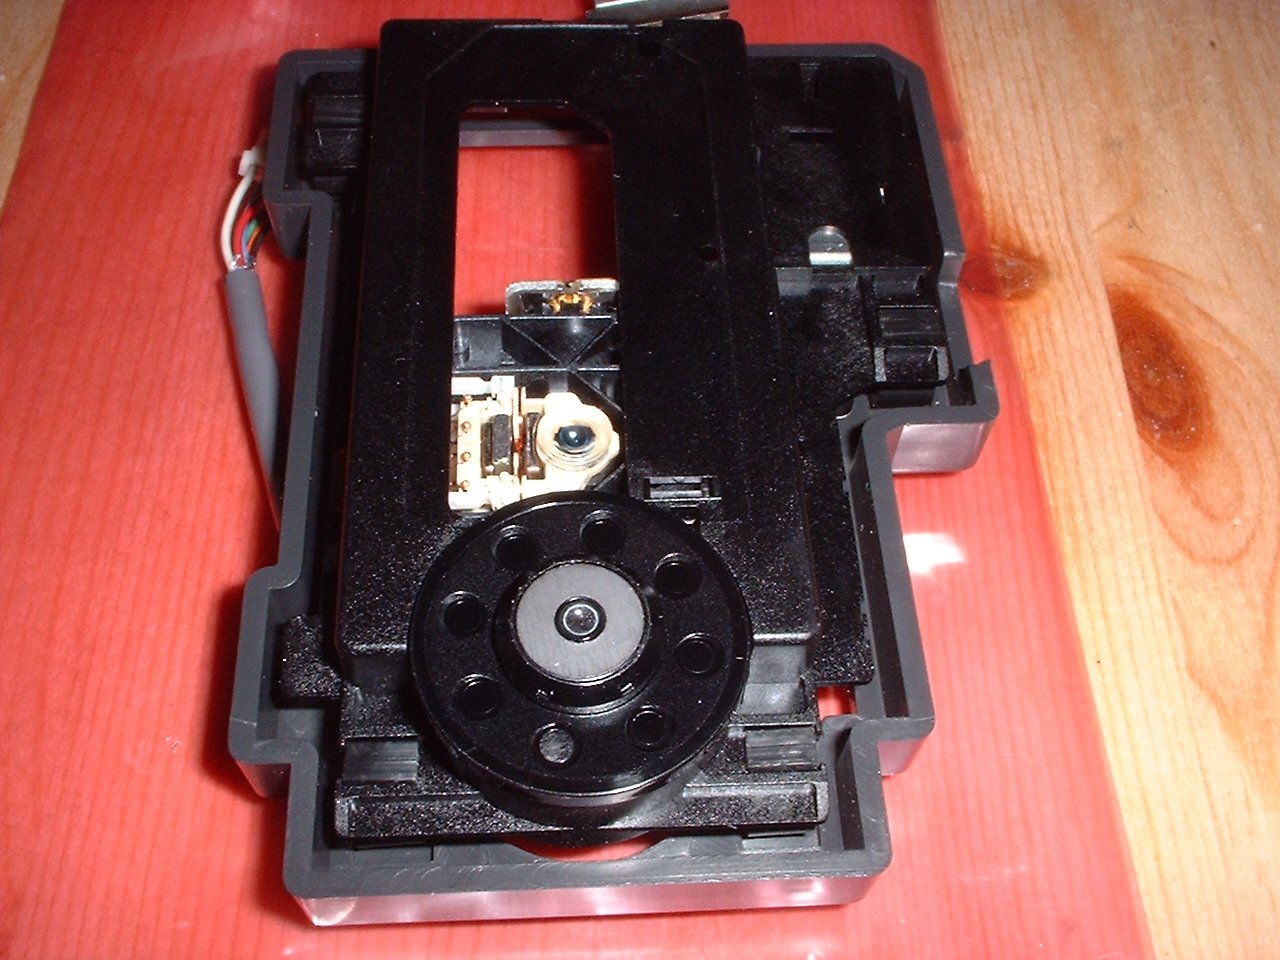
Refitting the new transport into the cradle is a LOT easier than removing the old one, be careful to get the wires and film cable through the transport and not trap them. It is simply a case of line up the slots in the new transport with the suspension mounts and push them in. Remeber to watch your fingers near the lens of the laser, don't want your grubby prints all over it.
Now pass the cables through the relivant holes in the PCB (film cable through the rectangular one, and the 6 wire cable through the round motor hole, sounds like playschool this :) ), and clip the cradle back to the PCB. Now we just have to reconnect these cables
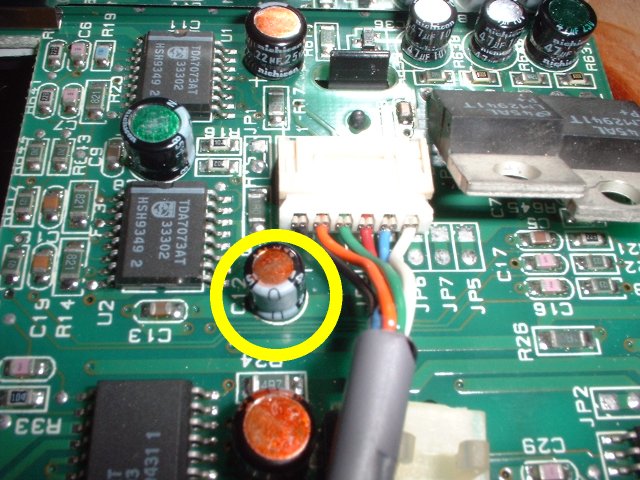
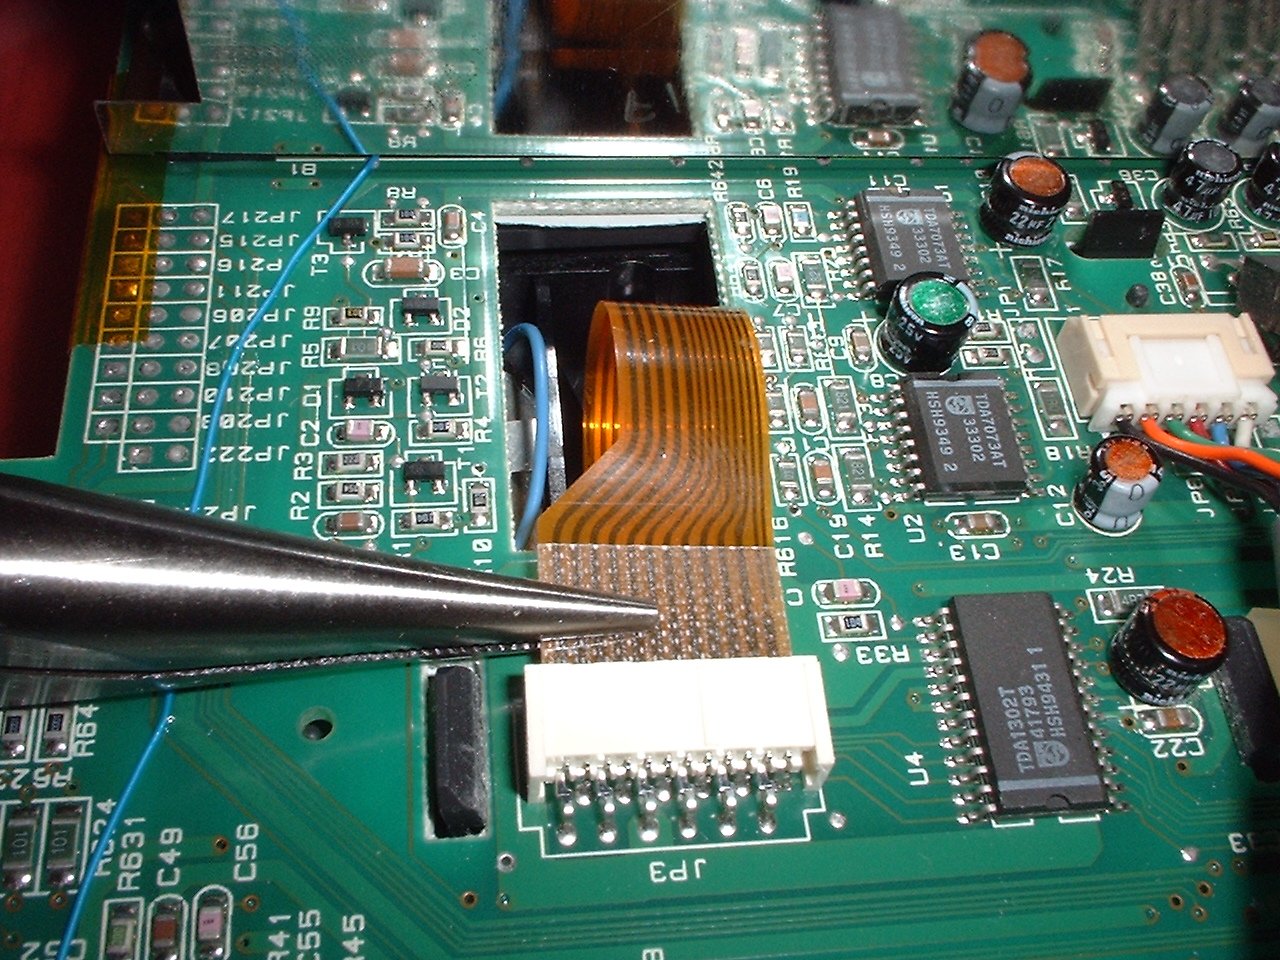
Thanks to the capacitor indicated in the picture, this connection is not as easy as you'd think, (well it took me a minute or so :) ). Trick is to put the end of the plug nearest the capacitor part way into the socket and then slide in the other end, I used the nib of my needle nose plyers to push the plug home, making sure that I didn't touch components again.
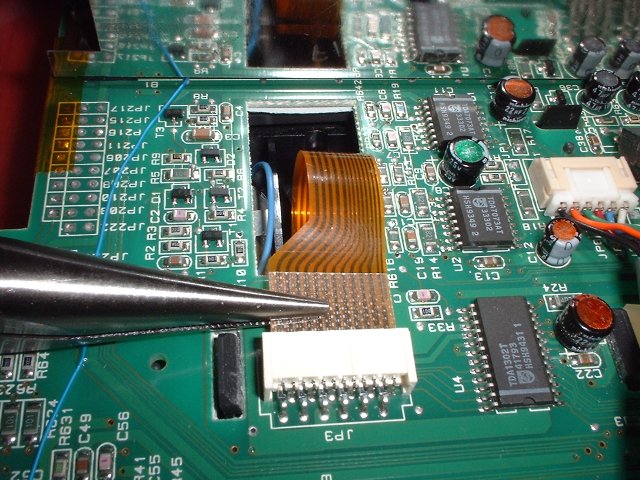
My new transports film cable came with a protective metal cap over the end of the film cable, remove this now if you haven't already :). Attaching the film cable is a bit tricky, as it is just a film there is no real place to grab hold of it, and you have to be careful not to crush it, or bend it severly or you will damage the track within the cable and render the whole transport useless. I fitted this by carefully lining it up with the socket, and only inserting it a small way, then carefully holding the cable on the toughend end with my needle nose plyers and gently pushing the cable into the socket with the plyers, until it was seated in firmly.
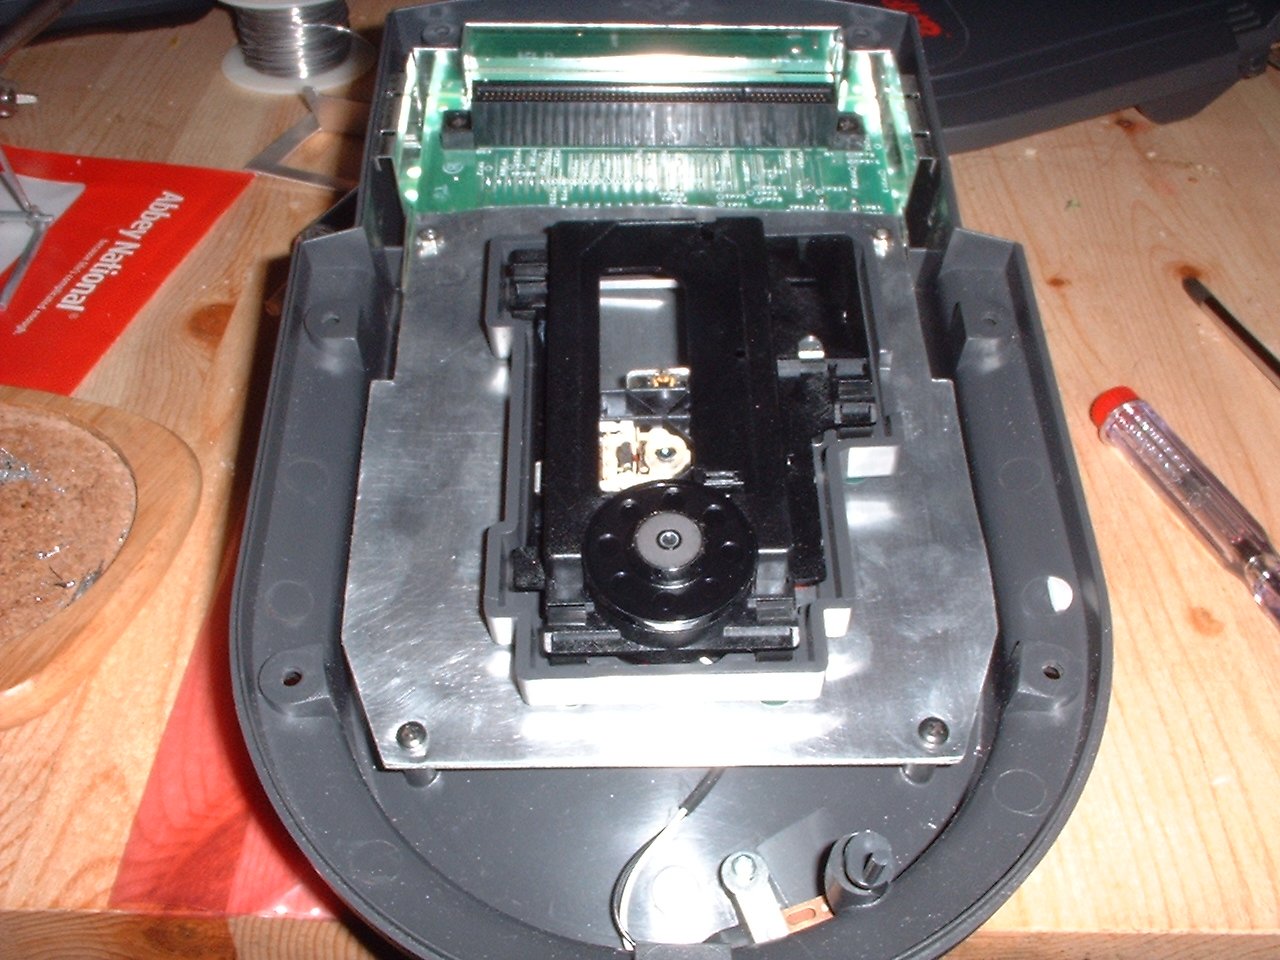
OK, now you hae done all the hard work, lets put it back together and get playing.

Doesn't it look nice with it's shiny new transport. Assembly is the reverse of dissembly now. Put in the four screws to hold in the PCB. If you hear a snap/creak noise as you screw in the screws next to the cartridge port, don't panic it is most likley the PCB popping into place between the shielding near the cartridge side of the unit.. (if it has split in two.. remove your plyers/hammer/cat from underneath the PCB and get the glue out :) ).
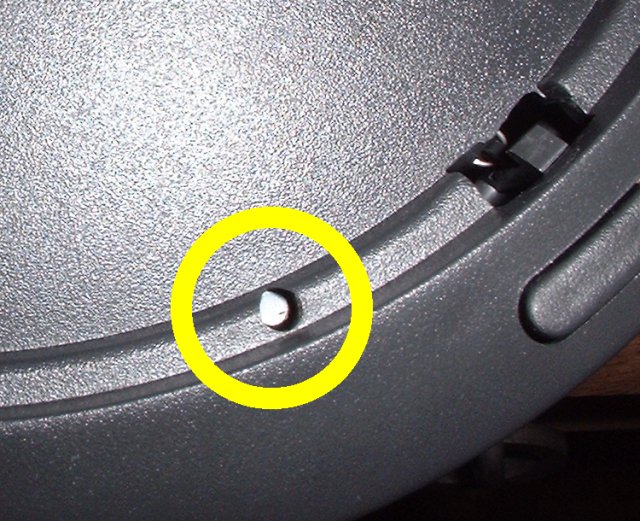
To save you going mad, heres a hint. When putting the top cover back on, get the post on the door sensor through it's hole first, BEFORE you line up the top part of the case with the bottom part, this way you will be rotating it into position as you put the case on, rather than trying to hold it in the right position so you can put the case on.
Once back together setup on your Jaguar, slap in your fave CD game, and get palying. To prove it worked for me, here are two screen shots
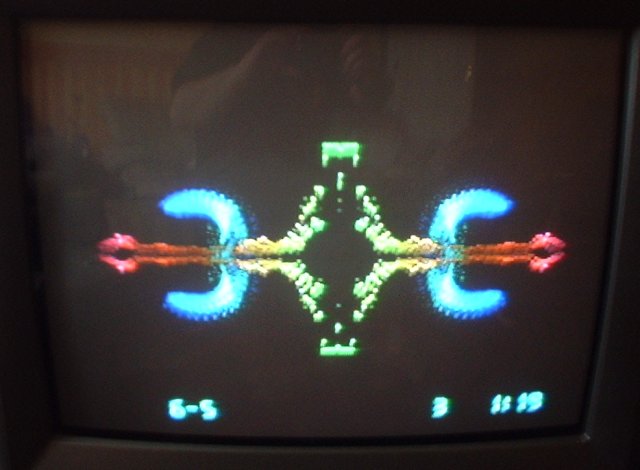
Well the VLM works well with audio CD (I'd never seen that before!)
And there is blue thunder booted up and ready to go. All in all, I rate it a successful operation
But wait! didn't I mention a problem?
Yup I did :(. It would seem that the door is rubbing on the CD's as they spin, so this makes a lot of noise, and also is probably not too healthy for the motor, plus most games won't play! How do we get past this! well if you are in the same boat as me, you have to either figure out whats causing this and fix it (ideal solution). Or a quick and effective fix (most likley :) ).
One quick fix I have come up with so far is to manually hold down the door closed button whilst the CD is in, this at least proves your units operation is OK. Only problem is that the disc spindle spins up VERY fast and the disc just slips as the central hub in the door isn't weighting it down. A simple solution, if a little tacky (in more ways than one), is sellotape! Simply put in the disc, and then put a small piece of sellotape across the hub poking through the disc and a small amount of the disc's surface. You must make sure the disc remains flat and that you don't lift it up. Now when you press the door close, the CD should spin up, and the game boot fine. Unless you have a friend willing to sit holding the button in this is not ideal, so I recommend fitting a switch to the door mechanism. If I have not resolved this issue soon I will post a doc detailing how to fit this switch, or how to fix the problem.
Thanks for reading I hope you have found this useful, if you have any comments/questions drop me a mail at graeme@the-crow.co.uk. Oh and yes, I know I have probably given really daft names to things, but tough it's my doc and I'll write what I want to.
Back to my Jaguar Pages
Copyright 2002 Graeme Hinchliffe